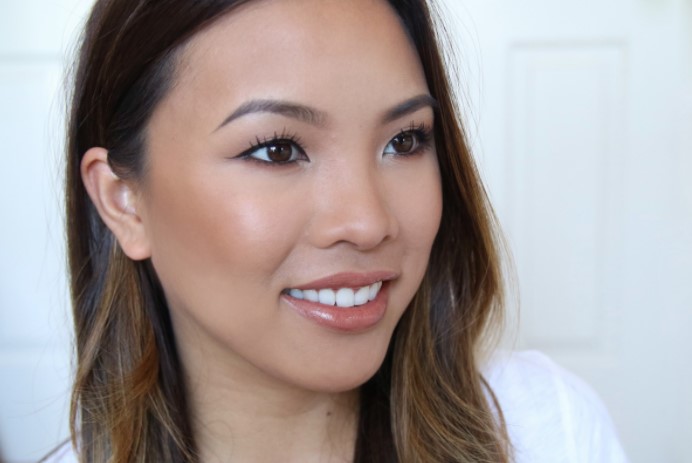
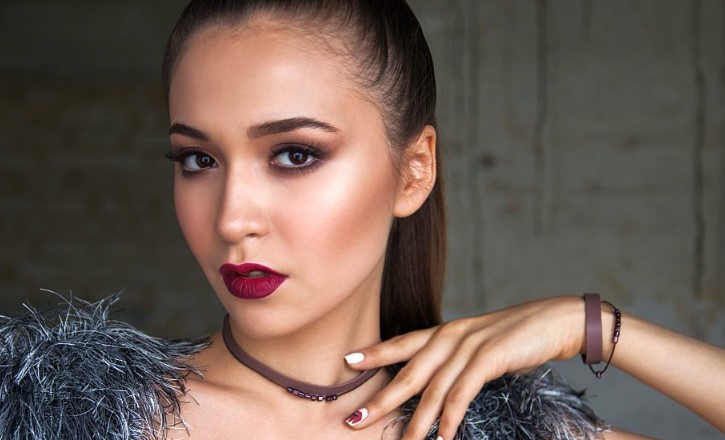
Bronzer is the most practical makeup item that gives you a touch of tropical glow without having to go on vacation. Its purpose is to mimic tanned effect from sun naturally, to provide lovely sun-kissed appearance, thus it’s typically made with warm tone. However, it can be quite tricky to know how and where to apply bronzer properly if you aren’t familiar yet with makeup.
A lot of people have confused bronzer for contour – and both indeed share plenty of similarities. As a start, they have same purpose, which is to mimic the way sunlight hit facial features. They are both should be one or two shades darker than your actual skin tone, and they are available in so many types. The biggest difference is, contour has to emphasize the light’s glow while contour works more by enhancing the shadow set by the glow.
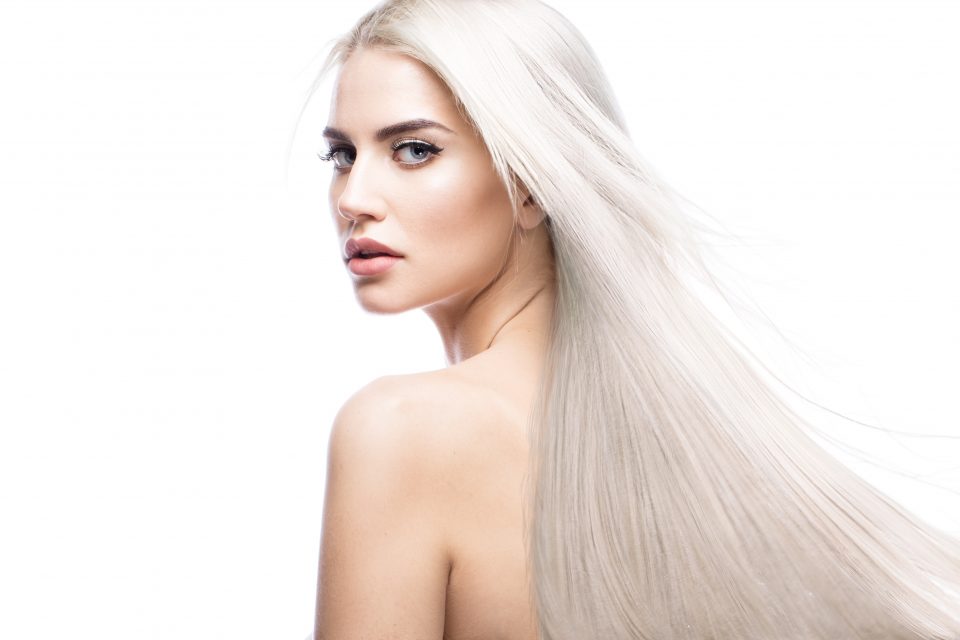
So generally, it only makes sense to apply bronzer in the spots where your face is hit naturally by the sunlight such as the high of cheeks, the nose bridge, and the upper part of the forehead. For a further and more detailed explanation about this makeup piece, check out these guides below on where to apply bronzer and other helpful tricks.
How to Pick the Best Bronzer
Bronzer is available in different formulas and finishes – you might choose your to be powder, cream, liquid and has glossy or matte finishes. If you like glossy finishing, you might use it as highlighter as well on cheekbones or any raised facial points. Meanwhile, applying matte bronzer gives you more versatility and realistic looks.
There are three types of bronzer. First is the versatile powder, which has wide range of finishes. It’s suitable for oily skin type and the easiest to use. Second is the cream bronzer, also simple and easy to use even by fingers only. It can be blended merely by pressing your finger to the skin, and you’d get that healthy glow looks. Next is the liquid that has benefit of being able to blend with moisturize and highly suitable for dry skin.
For the shades, as mentioned above, it’s best to go with a shade or two darker than your actual skin tone. It’s important to look for product with fitting undertone as yours to get natural result. Picking undertone is actually the most challenging part of getting the perfect bronzer, but in general, it’s divided into neutral, cool, and warm undertone.
Where to Apply Bronzer on Your Face
About one or two decades ago, it was not an exactly rare sight to see someone apply bronzer to their entire face – which is considered as hot trend back then. It results in orange-like appearance, due to the bronzer being too dark and too sparkly. The trend has passed as now, thankfully, bronzing face is actually a far simpler task if you know where to apply bronzer.
First thing first, you have to choose the right product that suits with your skin type and complexion color in order to create stunning radiance and warmth naturally. A good rule of thumb is to put it on areas where you will tan naturally the darkest under the sun. These areas are most likely will be the protruding or raised sports such as your temples, your nose bridge, and your cheekbones.
The easiest way to do it is by starting on your forehead, down slowly to the apple of your cheeks, then complete it by wiping the product through your jaw to the chin. Make sure that the bronzer is blended well to the hairline and neck area. When you have your hair done upwards, apply it behind the ears and at the back of neck.
Common Mistakes When Using Bronzer
Perhaps the only drawback of using bronzer is that it really easy to mess it up. Minor mistake may make you ended up looking muddy, orange, or shiny at odd places. Here are several common mistakes of method and where to apply bronzer, to avoid:
- Too dark shade: If you happen to pick up a tone too deep for your skin, the bronzer will create unnatural look and muddy complexion. Try to go with maximum a couple shades darker bronzer compared to your skin. Otherwise, hold the item side by side with your skin to see if they match.
- Using too much product: Putting to much bronzer, no matter what tools you use, will lead to nothing but disaster. To prevent this, swirl your makeup tool such as brush into the product with subtle circular motions, then tap to remove excessive bronzer, then apply in precise amount without going overboard.
- Going over the top for contouring: It is a common advice to apply bronzer beneath the cheekbones area in order to enhance the bone structure there – but it actually makes your face appears gaunt. Instead, opt for a more natural look by putting blush on cheeks lightly followed by delicate application of bronzer on the upper part of cheekbones.
How to Use Bronzer Properly
Now that you know exactly where to apply bronzer, how to choose one, and what not to do with it, it’s time for the actual application! These steps below will guide you on how to incorporate this lovely makeup item as a routine. Learn about them to create best look and placement in easy and quick way.
- 1st step: Pick your bronzer brush and tap it on the product. Sweep it lightly on your face’s perimeter (forehead and temples), along with the high of your cheekbones. Those are the spots where sunlight hit. For more sculpted appearance, try to set the brush on your jawline edge to create more defined look.
- 2nd step: Blending your bronzer perfectly is the key to achieve natural look. So, blend it, and then blend more. Use soft and small circular motion to get rid of any harsh line and create smooth finish.
- 3rd step: To prevent unbalanced look and add some warmth, use the leftover bronzer on the brush on the area such as neck, chin, and nose.
Here you go! You have mastered the art of how and where to apply bronzer correctly. It’s time to pose out on mirror and show your renewed makeup skill to the world.


Recent Comments